Cart
0
You may also like


Have you ever walked into a room and felt instantly calm because of a beautiful candle scent? That feeling is something you can create yourself—right at home, with simple ingredients and zero experience.
Making scented candles at home is one of the most satisfying DIY crafts you can pick up. Whether you want to fill your home with fragrance, create personalized gifts, or even start a small candle business, this beginner's guide will walk you through every step clearly.
Let's get started.
Before you begin, gather your supplies. Here's a complete list of what you need:
Wax — The base of your candle. For beginners, soy wax is the most popular choice because it's clean-burning, eco-friendly, and holds fragrance beautifully. You can also use paraffin wax for a harder finish or coconut wax for a premium, natural feel.
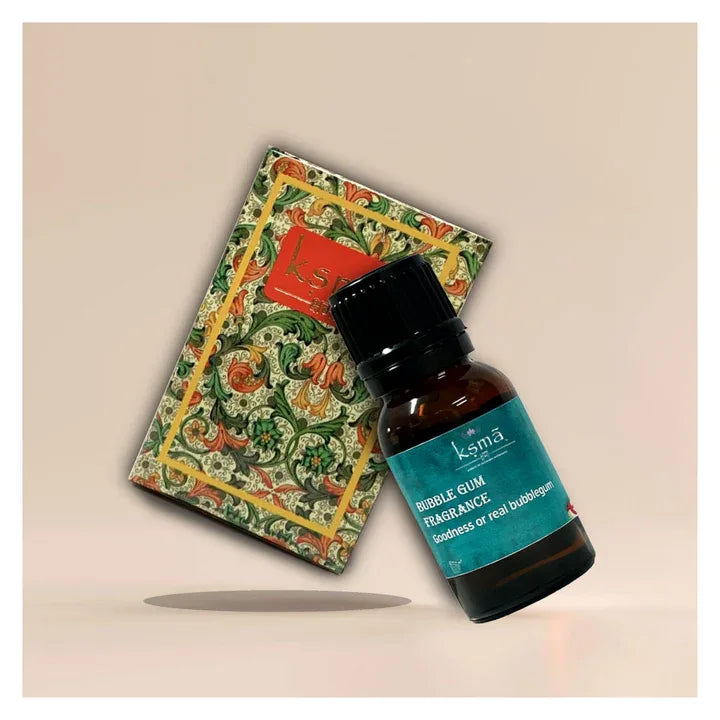
Fragrance Oil — This is what gives your candle its scent. KSMA offers a wide range of fragrance oils, including rose, lavender, sandalwood, and amber woods. Always use fragrance oils specifically made for candles—they're formulated to withstand heat.
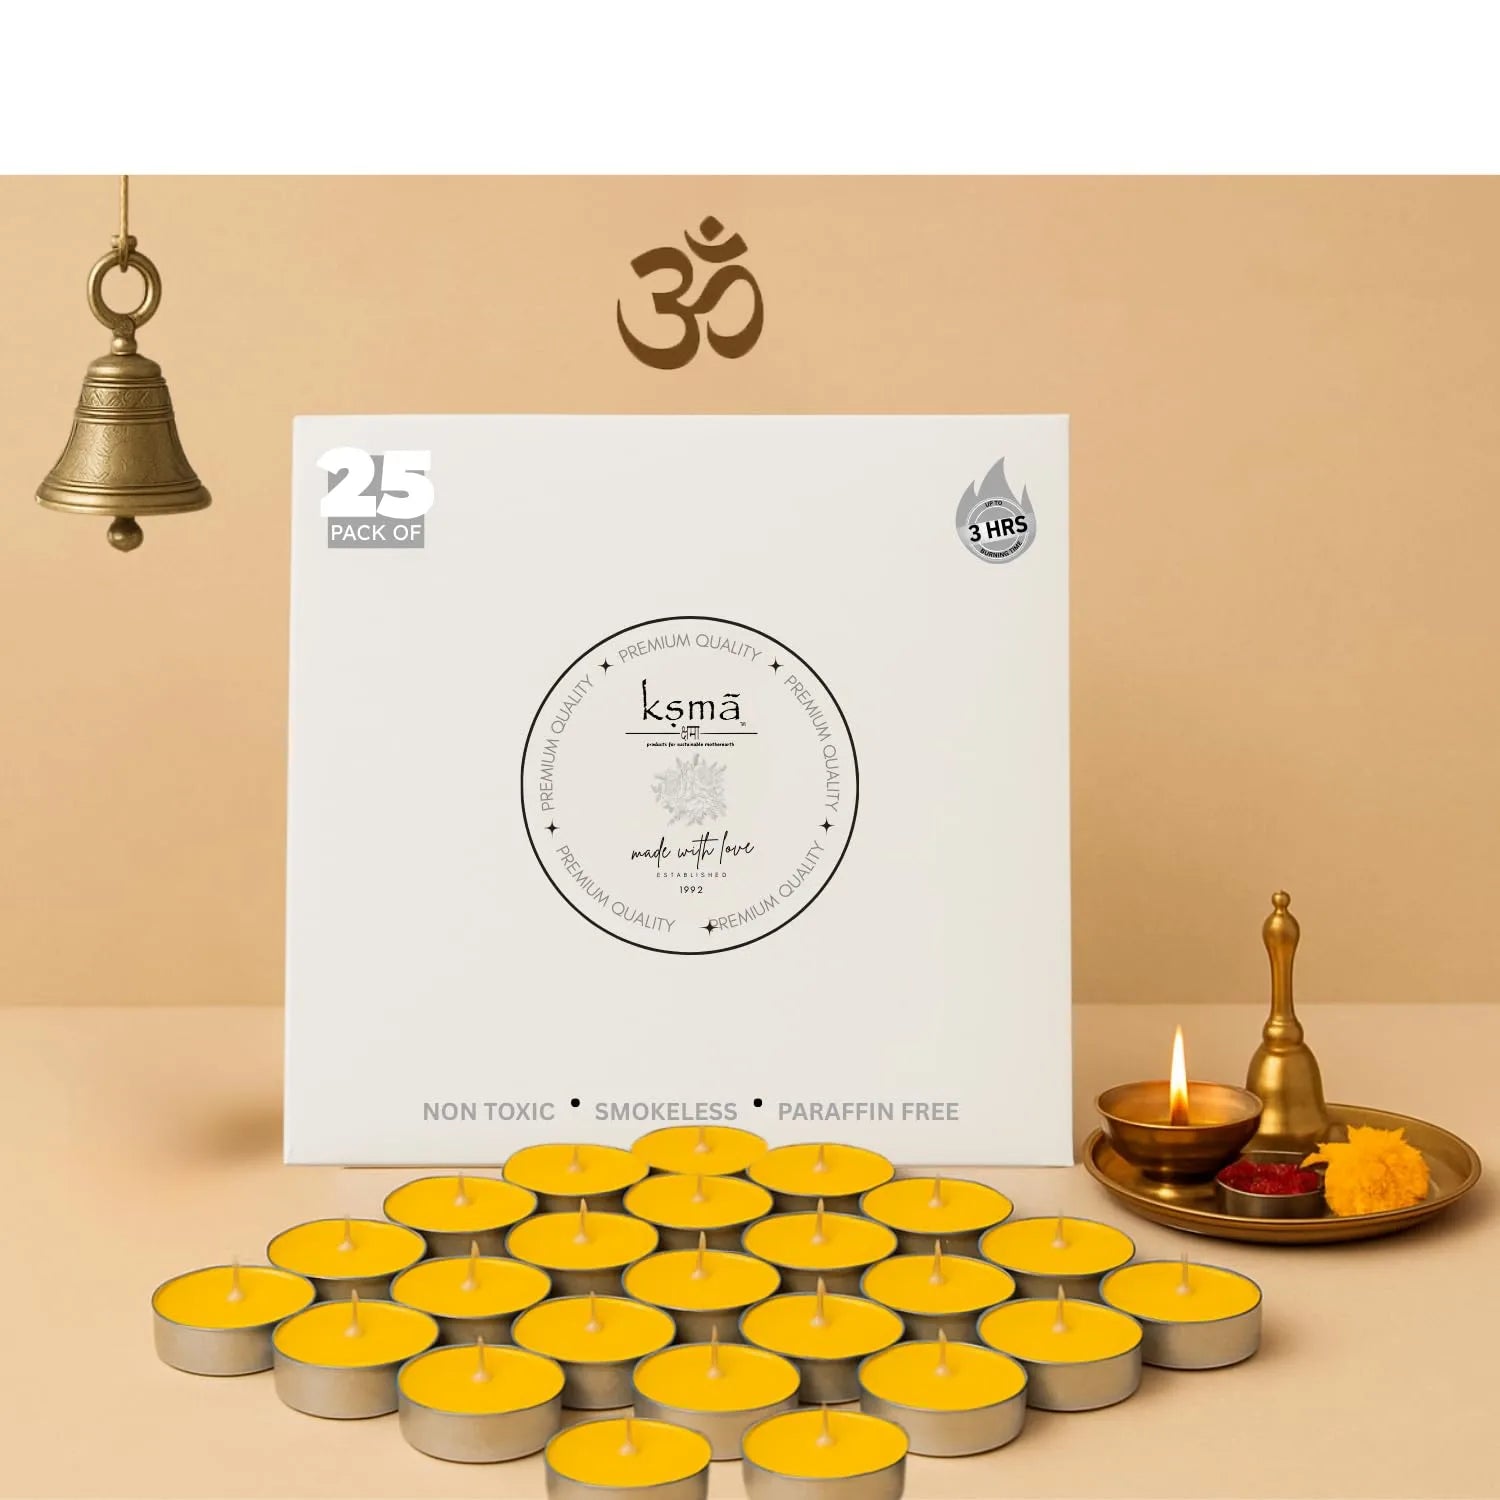
Candle Wick—The wick determines how your candle burns. KSMA's cotton candle wicks are available in sizes ranging from 1 inch to 6 inches, to suit various candle diameters.
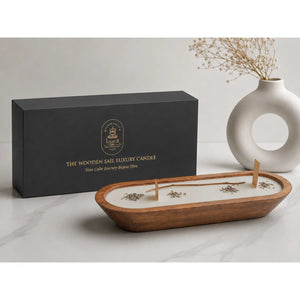
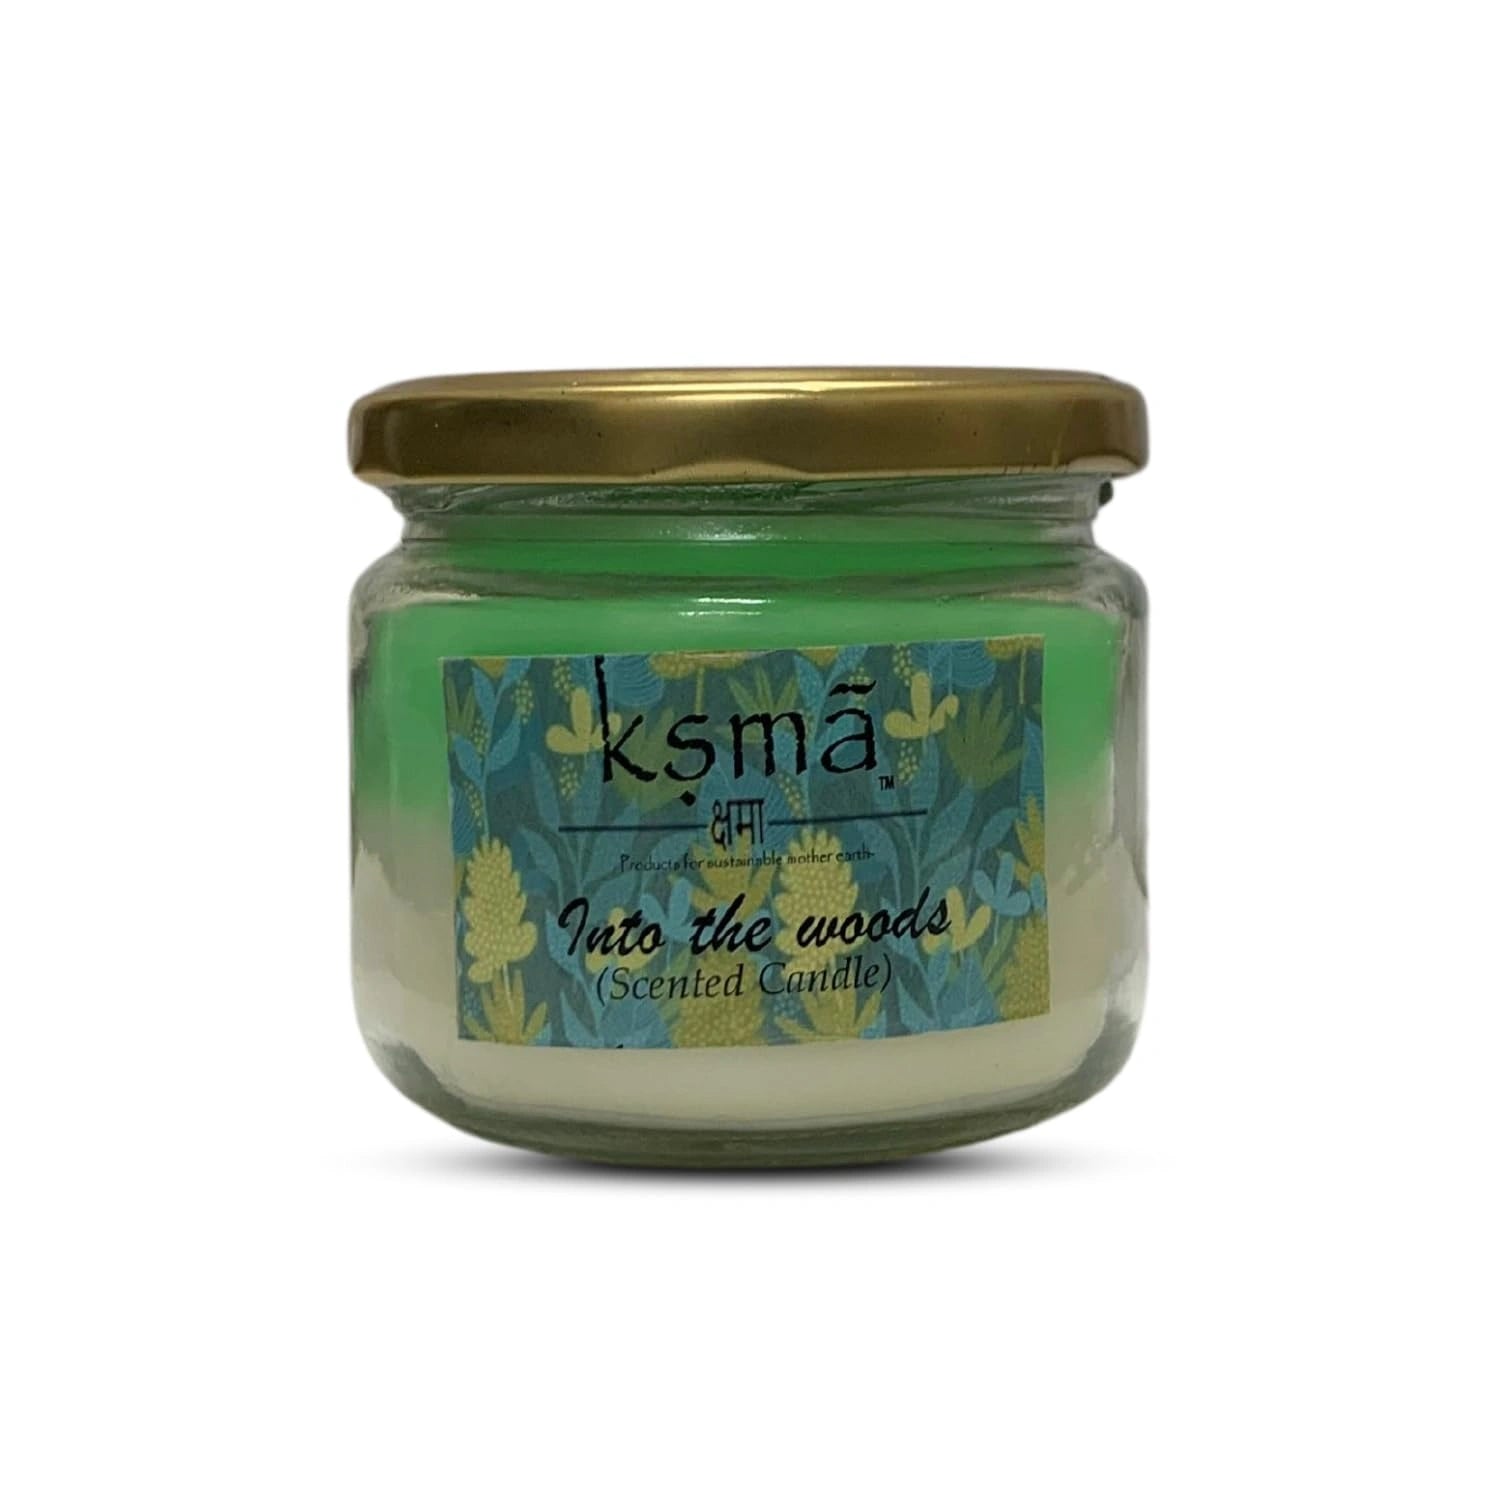
Container or Mold — A glass jar, tin, or silicone mold works well for beginners. Glass jar candles are the most popular for home use.
A Double Boiler or Melting Pot—To melt wax safely without direct heat.
Thermometer — To track wax and pouring temperature.
Candle Dye or Pigment (optional)—To add color. KSMA's candle pigments are available in 12+ colors, including red, blue, gold, and pink.
Wick Holder or Pencil — To keep the wick centered while the wax sets.
Clean your jar or container and place it on a flat, heat-safe surface. Stick the wick to the bottom of the jar using a bit of melted wax or a wick sticker. Tie the top of the wick around a pencil or wick holder placed across the top of the jar—this keeps it perfectly centered.
The general rule: use roughly twice the volume of wax flakes compared to your container size. For example, a 200ml jar needs about 150–170g of wax flakes.
Place your wax in a double boiler (or a heat-safe bowl over a pot of boiling water) and melt slowly over medium heat. Stir gently and keep an eye on the temperature with your thermometer.
Soy wax melts at around 75–85°C
Paraffin wax melts at around 55–65°C
Coconut wax melts at around 45–55°C
Never leave melting wax unattended, and never use a microwave.
Once your wax has fully melted and reached the right temperature, remove it from the heat. Let it cool slightly—the ideal temperature to add fragrance is 65–70°C for soy wax.
The standard fragrance load is 6–10% of the total wax weight. So for 150g of wax, add 9–15ml of fragrance oil. Stir slowly for about 2 minutes to fully incorporate the scent.
Tip: Adding fragrance at too high a temperature causes the scent to evaporate. Too low and it won't blend properly. 65–70°C is the sweet spot.
If you want a colored candle, add a small amount of candle pigment at this stage. A little goes a long way—start with a pinch and stir well. You can always add more to deepen the shade.
Avoid using crayons or regular craft dye—they can clog the wick and create uneven burning.
Let the wax cool to around 55–60°C before pouring. This helps prevent sinkholes and surface cracks.
Pour slowly and steadily into your prepared jar, leaving about 1 cm of space at the top. Don't disturb the wick as you pour.
Place your candle in a cool, draft-free spot and leave it undisturbed for at least 24 hours. Do not move it or touch the surface while it's setting.
You may notice a small sinkhole or dip forming around the wick as it cools — this is normal with soy wax. Simply do a second pour with a small amount of reheated wax to top it up.
Once fully set, trim the wick to about 5–6mm above the wax surface. This ensures a clean, even burn.
For the best fragrance throw, allow your candle to cure for 48–72 hours before lighting. Curing lets the fragrance oil fully bind with the wax, resulting in a stronger scent when burned.
Always do a test burn—light your first candle and let it burn until the entire surface has melted (usually 2–3 hours for a medium jar). This prevents tunneling.
Keep the wick centered—An off-center wick burns unevenly and can cause the jar to overheat on one side.
Don't add too much fragrance—more fragrance oil doesn't mean a stronger scent. Exceeding 10% can affect burn quality and cause the oil to pool.
Store unused wax properly — Keep it in a cool, dark place away from humidity to maintain quality.
Use the right wick size—a wick that's too small creates tunneling; too large creates a sooty, fast-burning candle. Check KSMA's wick range to match the wick size to your container's diameter.
If you're unsure which scent to start with, here are the most popular choices for home candles:
Lavender — Calming, great for bedrooms and relaxation
Rose — Romantic and floral, perfect for gifting
Sandalwood — Warm and grounding, ideal for living rooms
Amber Woods — Rich and luxurious, works well in cooler months
Citronella — Fresh and functional, great for outdoor spaces
All of these are available in KSMA's fragrance oil collection.
Q: Which wax is best for beginners?
Soy wax is the best choice for beginners. It's easy to work with, melts at a lower temperature, holds fragrance well, and gives a clean burn. KSMA's soy wax is available in small quantities, perfect for first-time candle makers.
Q: How much fragrance oil should I add to candle wax?
The standard fragrance load is 6–10% of your total wax weight. For 100g of wax, use 6–10ml of fragrance oil. Adding more than 10% can affect burn quality and cause the oil to seep out.
Q: Why does my candle have a rough or bumpy top?
This usually happens when the wax is poured at too high a temperature, or when the candle cools too quickly in a cold room. Pour at 55–60°C and let it set at room temperature away from fans or air conditioning.
Q: Can I use essential oils instead of fragrance oils in candles?
You can, but essential oils have a lower flash point and may not hold their scent as well when burned. Fragrance oils are specifically formulated for candles and give a stronger, longer-lasting scent throw.
Q: How long should I let my candle cure before burning?
At least 48 hours, ideally 72 hours. Curing allows the fragrance to fully bind with the wax for a stronger and more consistent scent when the candle is lit.
Q: Where can I buy candle-making supplies in India?
KSMA offers a comprehensive range of candle-making supplies online in India, including soy wax, paraffin wax, cotton wicks, fragrance oils, and candle pigments, with free shipping on orders exceeding ₹999.
Now you have everything you need to make your first beautiful scented candle at home. Start simple — one fragrance, one wax, one jar. As you get comfortable, you can experiment with layers, colours, and custom scent blends.
Shop all candle-making supplies at ksma. in and get free shipping on orders above ₹999.
Published by KSMA | India's trusted source for premium candle-making supplies, fragrance oils, and carrier oils.